Tips for Perfect No-Knead Bread:
- Flour choice: You can use any strong white bread flour, but if you can get your hands on a high-quality flour, it really makes a difference.
- Patience is key: This recipe takes time—no shortcuts! The long fermentation process is what gives the bread its flavor and airy texture, so resist the urge to rush it.
- Steam for the crust: The key to a crispy, crackly crust is steam. The water added to the hot pot helps create steam in the oven, which keeps the bread moist during the first phase of baking.
- Get creative with scoring: The slashes you make on top of the dough don’t just serve a functional purpose—they also let you express your creativity! Whether you go for a simple cross or a more intricate design, scoring gives the bread a beautiful artisan finish.
You will love this bread it is a Miracle!
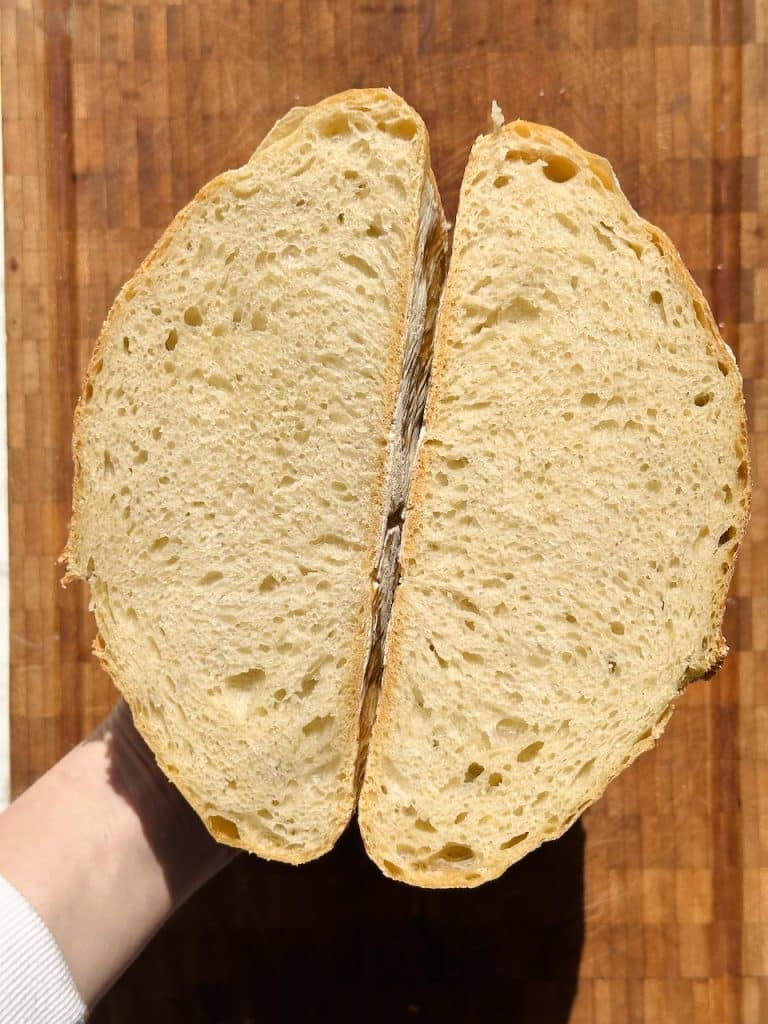
This bread is perfect for beginners and experienced bakers alike. With minimal hands-on time and the use of just a few basic ingredients, you can make a loaf that’s bursting with flavour, with a crunchy, golden crust and a soft, airy interior. Whether you enjoy it with butter, jam, or as the base for your favourite sandwich, this no-knead bread will elevate any meal.
Enjoy your bread fresh from the oven, or let it cool down for a bit longer—either way, you’re in for a treat. Happy baking!
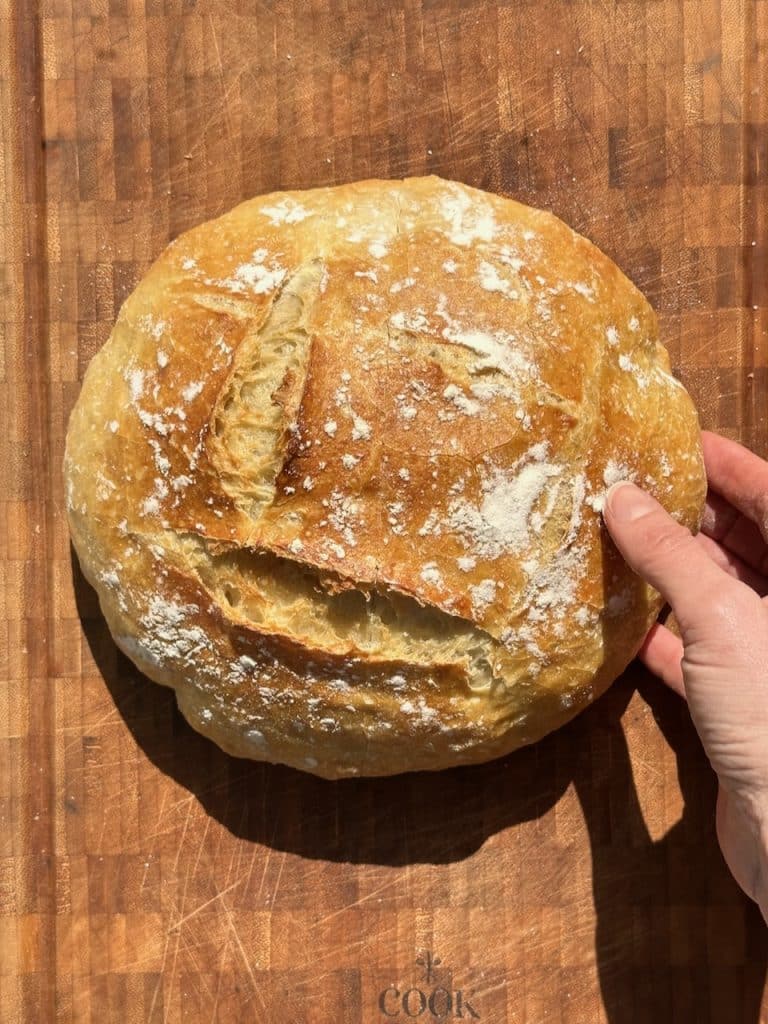
Miracle bread loaf – No knead – Overnight prove
If you're a fan of freshly baked bread but dread the idea of kneading dough for hours, this no-knead bread recipe is a game-changer! Using simple ingredients and a bit of patience, you can create a rustic, golden-crusted loaf that’s both satisfying and deeply flavourful. Best of all, there’s very little effort involved. No mixer, no kneading, just a few steps and some time for the dough to work its magic. Save this recipe to make on repeat.
Ingredients
- 500 g strong white or bread flour
- 7 g dried or fast acting yeast (1 sachet is 7g)
- 2 tsp fine salt
- 300 ml lukewarm water
Instructions
Mix the Dough
- Start by measuring out your ingredients. In a large mixing bowl, combine 500g strong bread flour, 7g dried yeast, and 2 teaspoons of fine salt. Give it a quick stir with a wooden spoon to ensure the yeast and salt are evenly distributed throughout the flour.
- Next, pour in 330ml of lukewarm water a little at a time, stirring gently as you go. The water should be warm to the touch, but not hot—around the temperature of a warm bath (roughly 37-40°C). Stir everything together until a shaggy dough forms. Don’t worry if it looks a bit rough—this is exactly what we want!
- Flour your hands and gently bring the dough together in the bowl to form a rough ball. It should feel slightly sticky, but don’t overwork it. Once it’s shaped, cover the bowl with either cling film or a damp tea towel. Leave it to rest in a warm spot for about 12-13 hours, preferably overnight. The dough will rise slowly, developing flavour and texture. Don’t worry if it doesn’t rise a lot—this slow fermentation creates that delicious, tangy taste you love in artisan bread.
Shape the Dough
- The next morning (or after your long wait), your dough should have risen and bubbled up. It will be a little loose, but don’t be tempted to over-handle it! This is part of the beauty of no-knead bread—preserving the air pockets in the dough creates a light and airy crumb.
- To shape your dough, lightly flour your work surface, and gently scoop the dough out of the bowl. Use a spatula or your hands to ease it out carefully, taking care not to deflate all the air trapped inside.
- Now, fold the dough gently towards the center, shaping it into a rough ball. Sprinkle a little more flour on top to prevent sticking, then place the dough on a piece of parchment paper. Cover it with a damp tea towel and let it rise for another hour in a warm place.
Step 3: Preheat the Oven and Prepare the Pot
- While the dough is having its final rise, it’s time to preheat the oven and prepare the cast iron pot. Preheat your oven to 230ºC (450ºF), setting it to fan-forced if you have that option.
- Place your 24cm cast iron pot (or any ovenproof pot with a lid) into the oven during the preheating phase. This allows the pot to get nice and hot, which is crucial for developing the perfect crust.
- After the dough has risen for an hour, it should be puffed up and ready for baking. Carefully remove the hot pot from the oven (it’s hot, so use oven mitts!), and place the dough, still on its parchment paper, into the pot. Use a sharp knife or lame (a razor blade used for scoring) to make a few slashes across the top of the dough. These slashes allow the bread to expand evenly as it bakes, and also give it that rustic, artisan look.
- Once scored, carefully pour 2 tablespoons of water into the bottom of the hot pot (this creates steam, helping form that irresistible crispy crust). Quickly replace the lid, and return the pot to the oven.
Bake and Cool
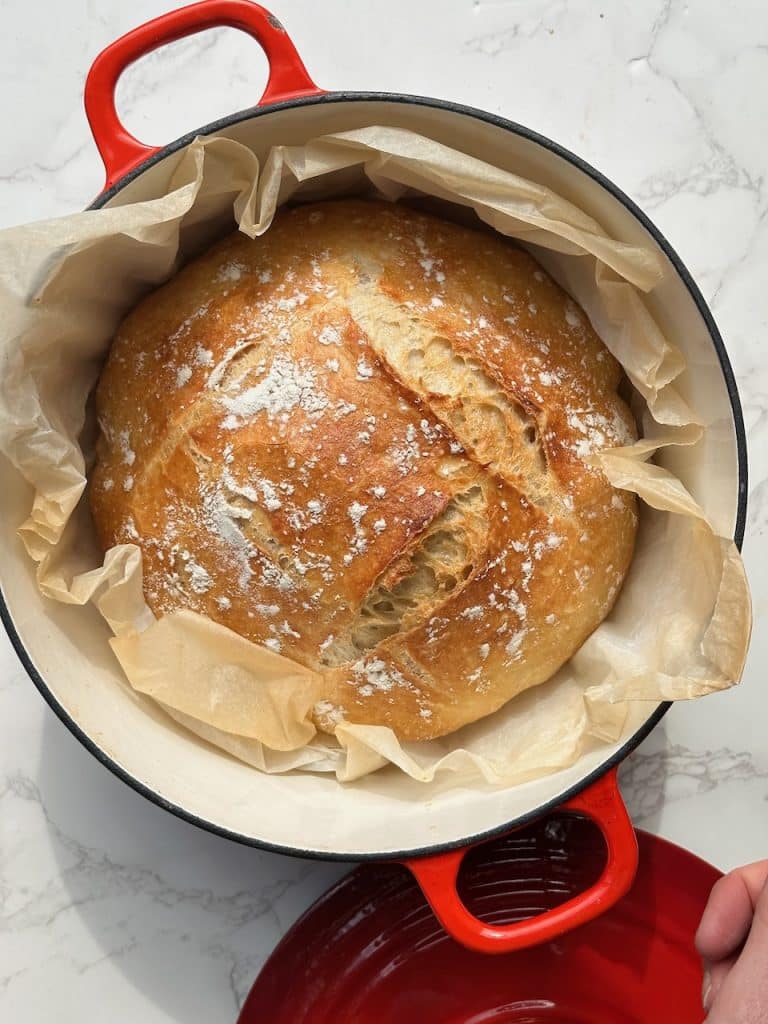
- Bake your bread for 30 minutes with the lid on. This first phase allows the bread to cook through while keeping the moisture in, ensuring a soft, fluffy interior. After 30 minutes, remove the lid and bake the bread for an additional 10-15 minutes, or until the top is golden brown and crisp.
- Once baked, remove the bread from the pot and let it cool on a wire rack for at least 30 minutes. It’s tempting to slice right away, but this resting time is important for the bread to firm up and finish cooking through.
Tried this recipe?Let us know how it was!