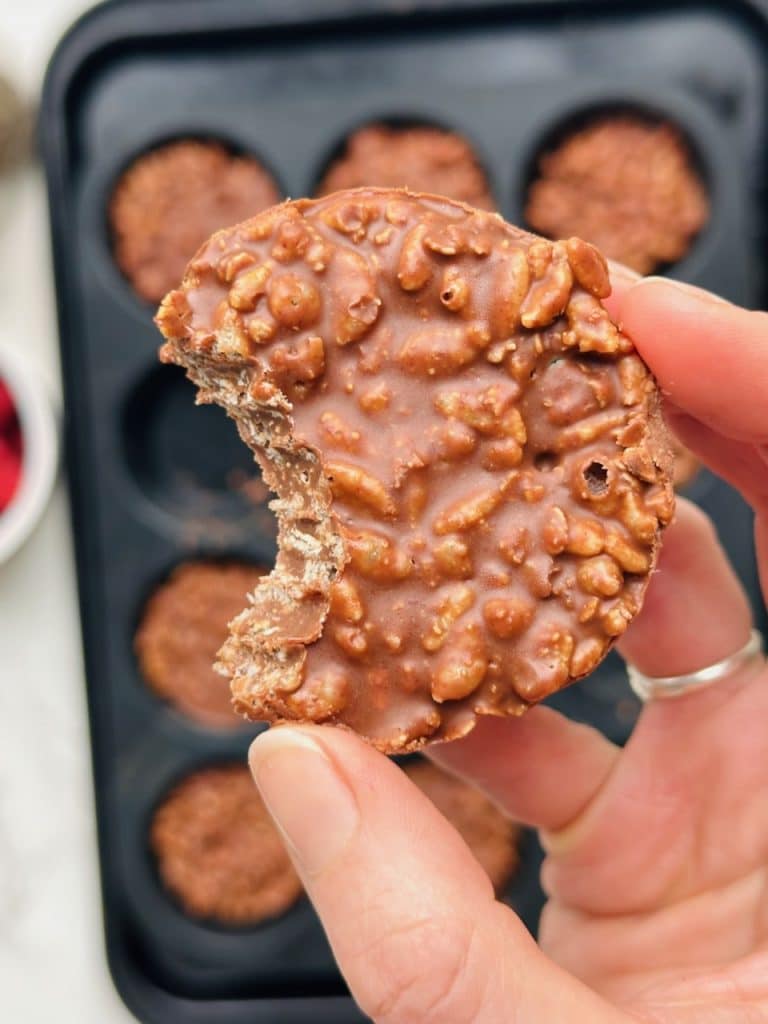
Why You’ll Love Crispy Cups
- Quick & Easy: No baking, no fuss—just melt, mix, and chill!
- Customisable: Switch up the chocolate or add toppings for a personalised twist.
- Make-Ahead Friendly: Store in the fridge or freezer for a grab-and-go snack anytime.
Tips & Variations
- Switch the Chocolate: Try dark chocolate for a richer flavour or white chocolate for a sweeter touch.
- Add Toppings: Sprinkle some crushed nuts, coconut flakes, or mini marshmallows on top before chilling for an extra layer of texture.
- Make it Vegan: Use dairy-free chocolate and vegan butter or coconut oil.
- Boost the Flavor: A pinch of sea salt or a dash of vanilla extract can elevate the taste even more.
These crispy cups are proof that simplicity doesn’t mean sacrificing flavour. Whether you’re entertaining guests or indulging in a quiet treat for yourself, this no-bake snack hits all the right notes. Give them a try, and don’t forget to share your creations!
Happy snacking!
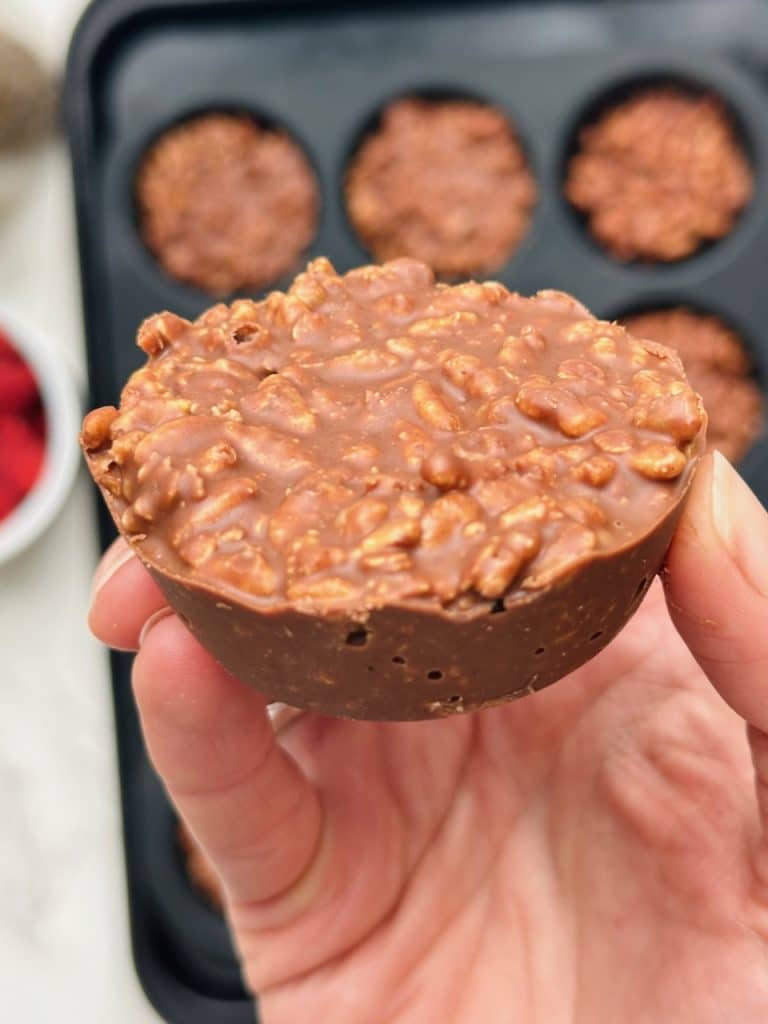
My Viral Crispy Cups: Delicious and so easy
These were a viral hit on my page! The are highly addictive be warned! If you’re craving a sweet, crunchy snack that’s ridiculously easy to make, look no further than these Crispy Cups! They’re perfect for a mid-afternoon treat, a sweet treat or even a birthday party. With just a few pantry staples and no baking required, these cups come together in no time—and everybody loves them.
Prep Time 15 minutes mins
Setting 1 hour hr
Total Time 1 hour hr 15 minutes mins
Course Snack
Servings 12 cups
Ingredients
- 200 g chocolate (milk or dark – your choice, but I used milk for extra creaminess)
- 200 g smooth peanut butter (use your favourite brand; make sure it's smooth!)
- 40 g coconut oil or butter (for that silky, melt-in-your-mouth texture)
- 75 g rice krispies ( substitute gluten free rice cereal to make gluten free) (for the ultimate crunch)
- 50 g oats ( substitute gluten free oats to make gluten free) (adding a bit of chewiness and heartiness)
Instructions
- Prep Your TrayPrepare a 12-hole muffin tray. Line it with paper cases if you prefer, as this makes cleanup even easier and gives the cups a nice, professional look.
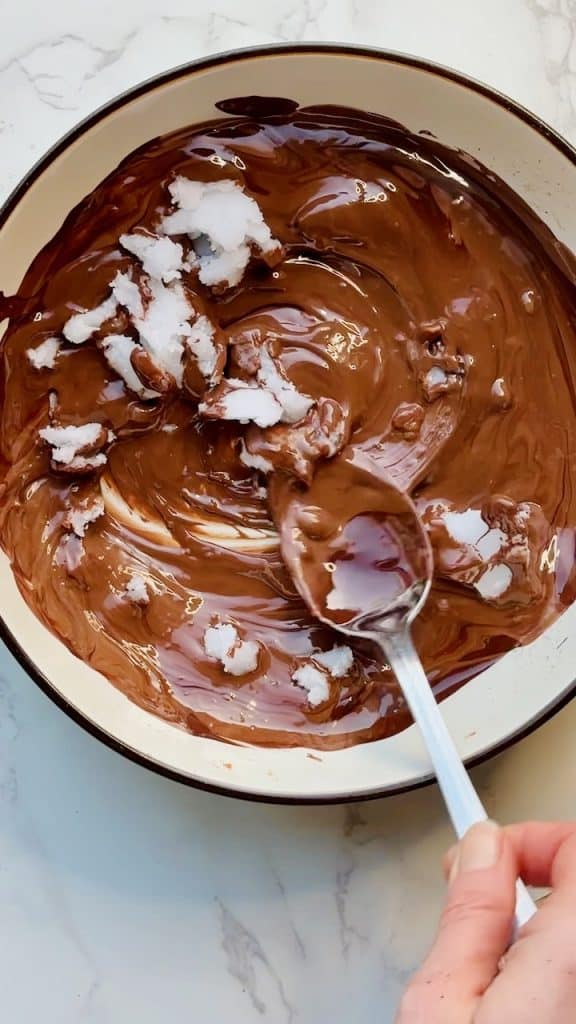
- Melt the ChocolateMelt the chocolate and coconut oil together. You can do this either in the microwave (30-second bursts, stirring in between) or in a heatproof bowl placed over a pot of simmering water. Stir until smooth and glossy.
- Add the Peanut ButterMix in the peanut butter. If it’s a bit too thick or lumpy, pop the mixture back into the microwave for another 30 seconds to loosen it up. Stir until fully combined.
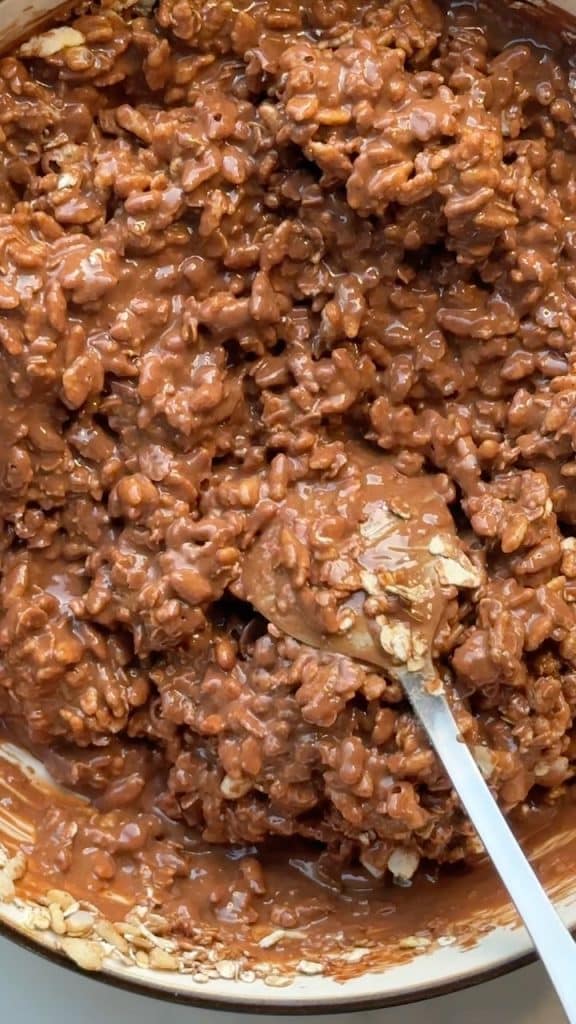
- Fold in the CrunchNow, gently fold in the rice krispies and oats. Make sure everything is evenly coated in the chocolate-peanut butter mixture for the perfect blend of crunch and chew.
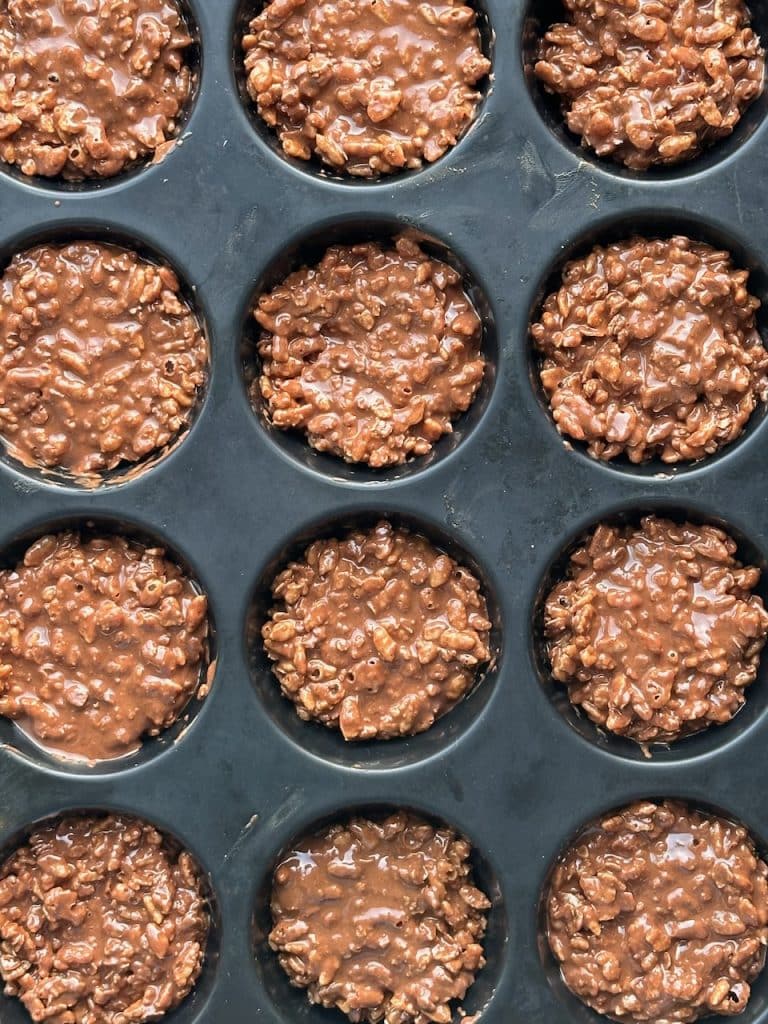
- Scoop & ChillScoop the mixture evenly into the muffin tray. Use a spoon or small cookie scoop for precision. Pop the tray into the fridge and let the cups set for about an hour.
Serving & Storage
- Once set, your Crispy Cups are ready to enjoy! Store them in an airtight container in the fridge for 2–3 days. They also freeze beautifully— store in a freezer-safe container for up to a month. Grab one straight from the freezer for a cold, crispy treat!
Keyword Chocolate, Gluten Free, Snack, Treat
Tried this recipe?Let us know how it was!

