Storage Tips
– Freezing:** These mini scones freeze wonderfully! Just place them in an airtight container or bag, and they’ll keep for up to 3 months. Thaw them overnight in the fridge or at room temperature before serving.
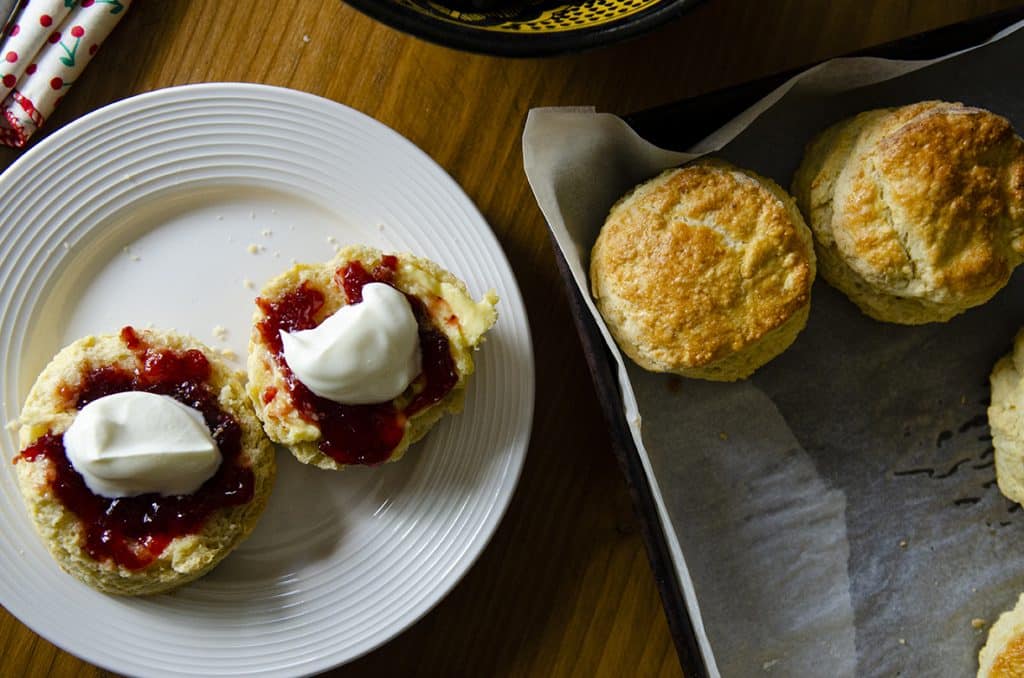
– Lunchbox Friendly:** They can be enjoyed on their own or served with a bit of jam or butter for added flavor.
Why You’ll Love These Mini Scones
These Lunchbox Mini Scones are versatile and can be enjoyed any time of day. They’re great for breakfast, snacks, or even as a light dessert. Plus, you can customise them by adding chocolate chips, dried fruit, or even herbs for a savoury twist!
Try making these delightful scones for your next lunchbox treat, and watch them disappear! Happy baking!
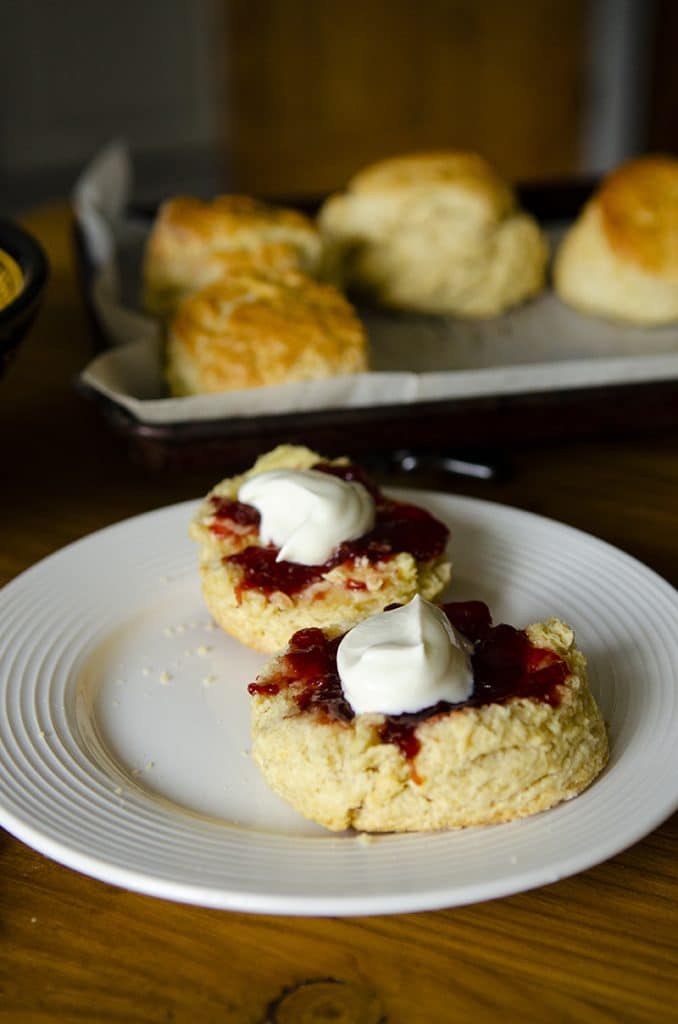


Lunchbox Mini Scones: Perfectly Portable Treats!
Looking for a delightful addition to your child’s lunchbox? These Lunchbox Mini Scones are not only easy to make, but they also make for a delicious snack that’s perfect for any time of the day! Light, fluffy, and just the right size, these scones are sure to be a hit. Let’s get baking!
Prep Time 10 minutes mins
Cook Time 10 minutes mins
Total Time 20 minutes mins
Course Breakfast, Lunch
Servings 10 servings
Ingredients
- 300 g self-raising flour (plus extra for dusting)
- 75 g butter (room temperature)
- 1.5 tbsp sugar
- 110-125 ml milk (don't add all at once)
- 1 eggs
Instructions
- Preheat Your Oven. Start by preheating your oven to 180°C (350°F). Line a baking tray with parchment paper to prevent sticking.
- Prepare the Dry Ingredients. In a large mixing bowl, add the self-raising flour. Cut the room-temperature butter into small pieces and add it to the flour along with the sugar.
- Mix the Wet Ingredients. In a jug, measure out the milk and crack in the two eggs. Mix well to combine. Keep a little bit of this mixture aside for the egg wash later—about 20-30ml.
- Rub in the Butter. Using your fingers, rub the butter into the flour and sugar mixture until it resembles breadcrumbs. This is a key step for creating that light, fluffy texture in your scones!
- Combine Wet and Dry Ingredients. Make a well in the center of the breadcrumb mixture and pour in the milk and egg mixture, reserving a bit for the egg wash. Gently work it in with a fork until it’s just combined.
- Knead the Dough. Dust your work surface with flour and turn out the dough. Gently knead it until smooth, adding a little extra flour if it’s too sticky. Flatten the dough to about 1 inch thick.
- Cut Out the Scones. Dip your mini scone cutter into the flour to prevent sticking, then cut out your scones. Place them on the prepared baking trays. Repeat this process until all the dough is used up.
- Brush and Bake. Brush the tops of the scones with the reserved egg wash to give them a lovely golden color as they bake. Pop them in the oven and bake for about 18 minutes, or until they’re lightly golden on top.
- Cool and Store. Once baked, remove the scones from the oven and let them cool completely on a wire rack. Once cool, they’re ready to be packed up for the lunchbox or stored in the freezer for later!
Keyword Baking, Breakfast, Brunch, Kids, Lunch Box, Meal Prep, School, Scones
Tried this recipe?Let us know how it was!
