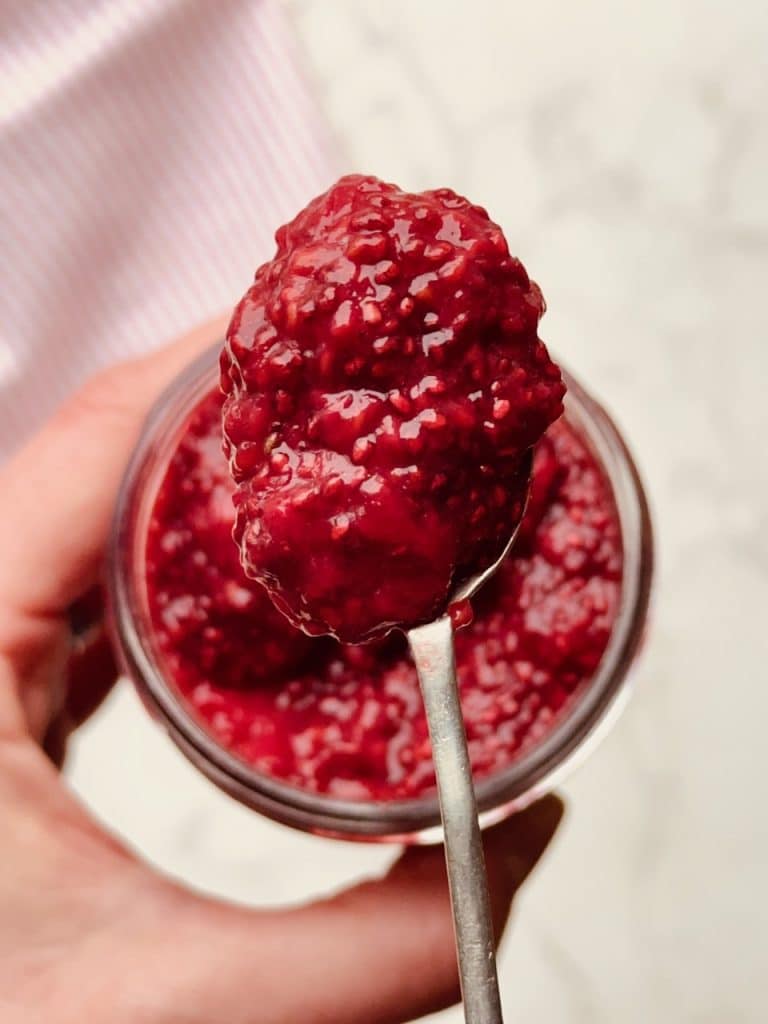
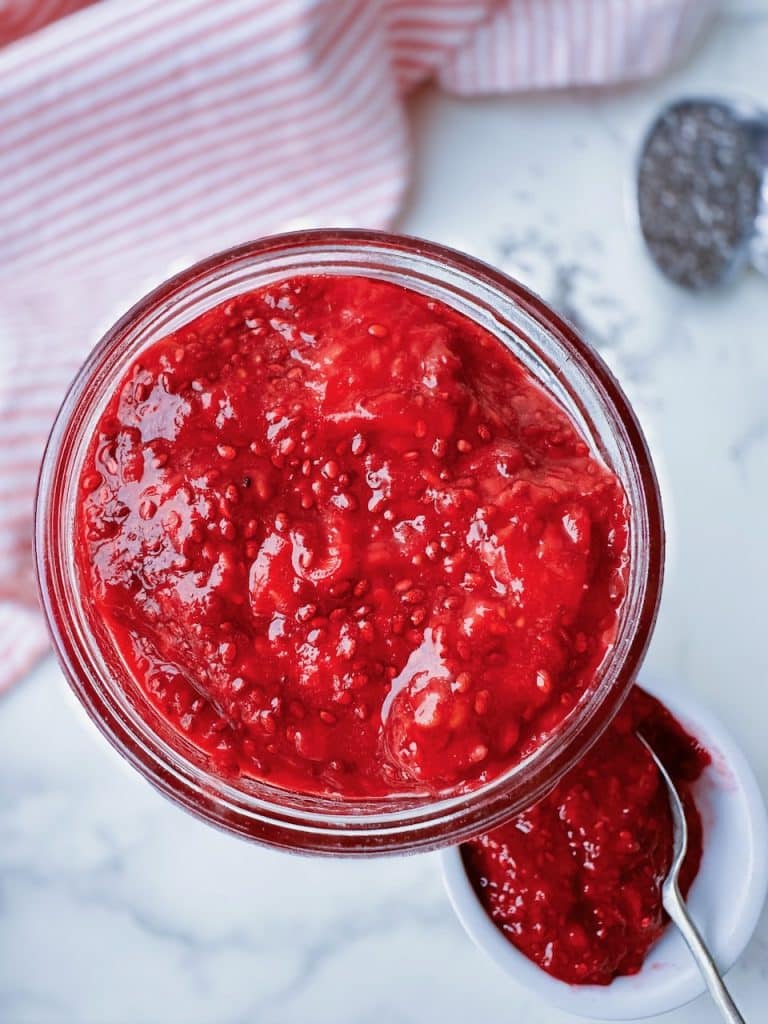
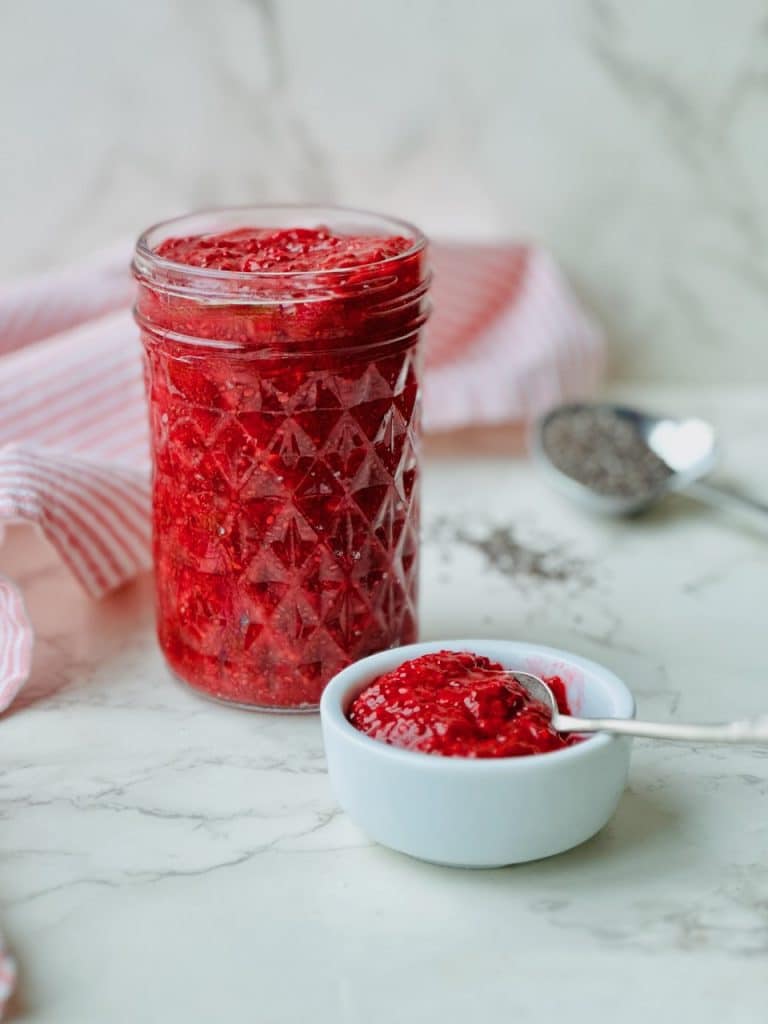
Whether you’re spreading it on toast, dolloping it on pancakes, or using it to fill your homemade scones (seriously, if you haven’t tried those yet, go for it!), this kid-friendly chia seed jam will quickly become a family favourite. Plus, it’s so easy to make, and you can even get the kids to help with stirring and blending!
Let’s dive into this super simple, healthy jam recipe!
Why This Chia Seed Berry Jam is Perfect for Kids:
- No Refined Sugar: Sweetened with just honey or maple syrup, making it a healthier alternative to store-bought jams.
- Packed with Fiber: Thanks to chia seeds, this jam is full of fiber, omega-3 fatty acids, and antioxidants – a perfect boost for growing kids.
- Naturally Thickened: Chia seeds give this jam its thick, spreadable texture without any artificial thickeners or gelatin.
- Easy to Make: A fun, 30-minute recipe that the whole family can enjoy making together.
- Customizable: Adjust the sweetness to your child’s taste, and even sneak in a little extra fruit for added nutrition.
Storing Your Chia Seed Berry Jam:
- In the Fridge: This jam will last up to 5 days in the fridge, so you can enjoy it all week long.
- In the Freezer: You can also freeze any extra jars of jam for up to 3 months. Just thaw them in the fridge overnight, and they’ll be as good as new!
Why This Jam is Perfect for Lunchboxes:
This chia seed berry jam is not only a healthier option, but it’s also an excellent way to sneak in some extra fiber and healthy fats into your child’s diet. The chia seeds help keep the jam thick and spreadable, making it perfect for sandwiches, toast, or scones in a lunchbox.
It’s also super customisable – you can mix in different berries depending on what you have on hand, and adjust the sweetness to suit your kids’ taste buds. Plus, since there are no artificial additives, you can feel good about serving it to your little ones.
How to Serve Chia Seed Berry Jam:
- On Toast: The classic way – just spread it on warm toast for a quick breakfast or snack.
- On Pancakes or Waffles: Add a spoonful on top of pancakes or waffles for a fruity, healthy topping.
- With Scones: Perfect for slathering on homemade scones – you’ll want to serve it at your next tea party or family gathering.
- In Yogurt: Swirl a little bit into your kids’ yoghurt for a fun, fruity twist.
- As a Dip: Serve it as a dip for fruit slices or crackers for a fun snack.
Final Thoughts:
This Kid-Friendly Chia Seed Berry Jam is an absolute game-changer for anyone looking for a healthier, homemade jam alternative. It’s easy to make, naturally sweetened, and packed with nutrients, making it perfect for little (and big) appetites. Plus, the kids will love helping out in the kitchen!
So, next time you want a simple, wholesome spread for breakfast or snack time, give this jam a try – I promise you’ll love it just as much as the kiddos!


Kid-Friendly Chia Seed Berry Jam: The Healthier Way to Spread the Love
Ingredients
- 350 g strawberries (fresh or frozen)
- 350 g raspberries (fresh or frozen)
- 4 tbsp honey or maple syrup (you can adjust this for sweetness)
- 1-2 tbsp vanilla extract
- 60 g chia seeds (either whole or milled – whole seeds give it a bit more texture)
- 1 tbsp lemon juice (optional – but it brightens the flavor!)
- Optional: Extra sugar or more vanilla if you prefer a sweeter jam.
Instructions
Step 1: Prepare the Berries
- Start by adding the strawberries and raspberries to a medium-sized pot. You can use fresh or frozen berries – whatever you have on hand.
- Place the pot over medium heat and gently heat the berries, stirring occasionally with a wooden spoon. The berries will start to release their juices and soften up. Keep stirring to prevent them from sticking to the bottom of the pot.
Step 2: Sweeten & Flavour
- Once the berries are completely softened and heated through (after about 5-7 minutes), stir in the honey or maple syrup and vanilla extract. Continue to cook for 1 more minute, allowing the flavoyrs to combine.
- At this stage, you can also taste the jam. If you want it a bit sweeter, add a little extra sugar or vanilla. You can easily adjust the sweetness to your child’s liking!
Step 3: Blend the Jam
- Remove the pot from the heat and use an immersion blender to blend the berry mixture until it’s smooth. If you don’t have an immersion blender, you can carefully transfer the mixture to a regular blender or food processor.
- Pro tip: If your kids love a little bit of texture in their jam, you can blend it less and leave some berry chunks. It’s totally up to you!
Step 4: Stir in the Chia Seeds & Lemon Juice
- Once the berry mixture is blended, stir in the chia seeds. Chia seeds will naturally thicken the jam as it cools, creating that perfect spreadable texture. Stir well to make sure the seeds are evenly distributed.
- If you like, you can also add lemon juice at this point to give the jam a nice zesty kick. The lemon juice helps balance out the sweetness and adds a bit of freshness to the flavour.
- Set the pot aside for 20 minutes to let the chia seeds work their magic and thicken the jam. Stir it once or twice during this time to make sure it thickens evenly.
Step 5: Jar the Jam
- Once the jam has thickened, it’s time to jar it up! Carefully sterilize two jars by washing them in hot soapy water and then placing them in the oven at 170°C/340°F for about 10 minutes.
- Once your jars are ready, pour the jam into the jars while it’s still warm. Let the jars cool completely before sealing them with a lid.


